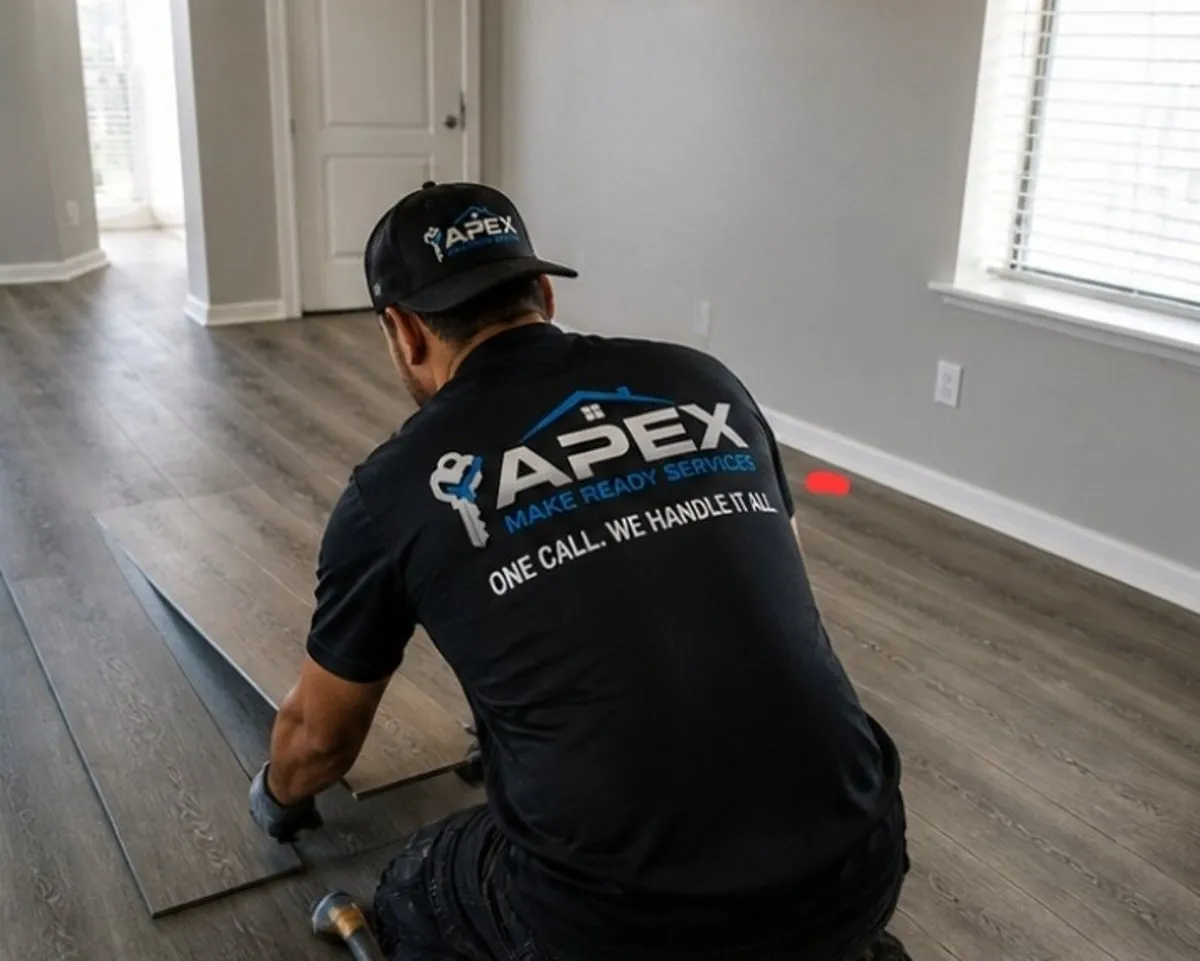
A vacant unit can look simple from the doorway, then turn into a week of loose ends once work starts. The dependable way through is a repeatable apartment turnover checklist: inspect first, define the scope, complete the work in the right order and walk it one last time as the next resident will. This guide gives property managers, owners and investors a practical sequence for a light refresh or a more involved make-ready.
1. Start With a Vacancy Inspection and Clear Photos
Begin before anything is removed or cleaned. Walk every room with a consistent list and take photos of the condition you find. Note abandoned property, wall damage, worn flooring, appliance problems, broken hardware, missing safety devices, leaks and stains. Open cabinets, test lights, flush toilets, run faucets and look at the unit from the entry as well as from inside each room.
The goal is to separate normal wear from real repair work, spot items that could delay the next move-in and make the estimate easier to approve. A short, specific scope beats a vague instruction such as “make it ready.” When the team knows which rooms need repair, paint, cleaning or replacement, the job can be scheduled in the right order.
For older properties, be especially careful around peeling or damaged painted surfaces. The EPA’s renovation, repair and painting guidance explains when lead-safe work practices apply to pre-1978 housing. That is a planning issue to identify early, not after prep has started.
2. Remove Belongings and Reset the Work Area
Once the inspection is documented, remove approved trash, debris and abandoned items. Clear the unit so repairs and cleaning crews can see the actual condition of the floors, walls, cabinets and fixtures. This prevents a common turnover mistake: cleaning around clutter, then finding damage or odor sources after the schedule is already tight.
Sort what needs disposal, recycling, storage or owner review before haul-off. If there is damage from water, pests or a heavy clean-out, flag it immediately because it may change the repair sequence. The work area should be safe, accessible and free of trip hazards before anyone starts patching, painting or deep cleaning.
3. Build the Scope Around Repairs Before Cosmetics
Repairs come before cosmetic finish work. A fresh coat of paint does not solve a leaking supply line, a loose toilet, a non-working outlet or a cabinet door that will fail on move-in day. Work through the systems that affect function first: plumbing, electrical, HVAC, appliances, doors, locks and windows. Then move into drywall, flooring, trim and paint.
This order reduces rework. A plumber should not need to cut into a wall that has just been patched and painted. A flooring repair should happen before the final clean. For a fuller reset, compare the condition against the scope in a standard make-ready package so the decision is based on the actual work, not just the first visible issue.
4. Address Moisture, Ventilation and Odor at the Source
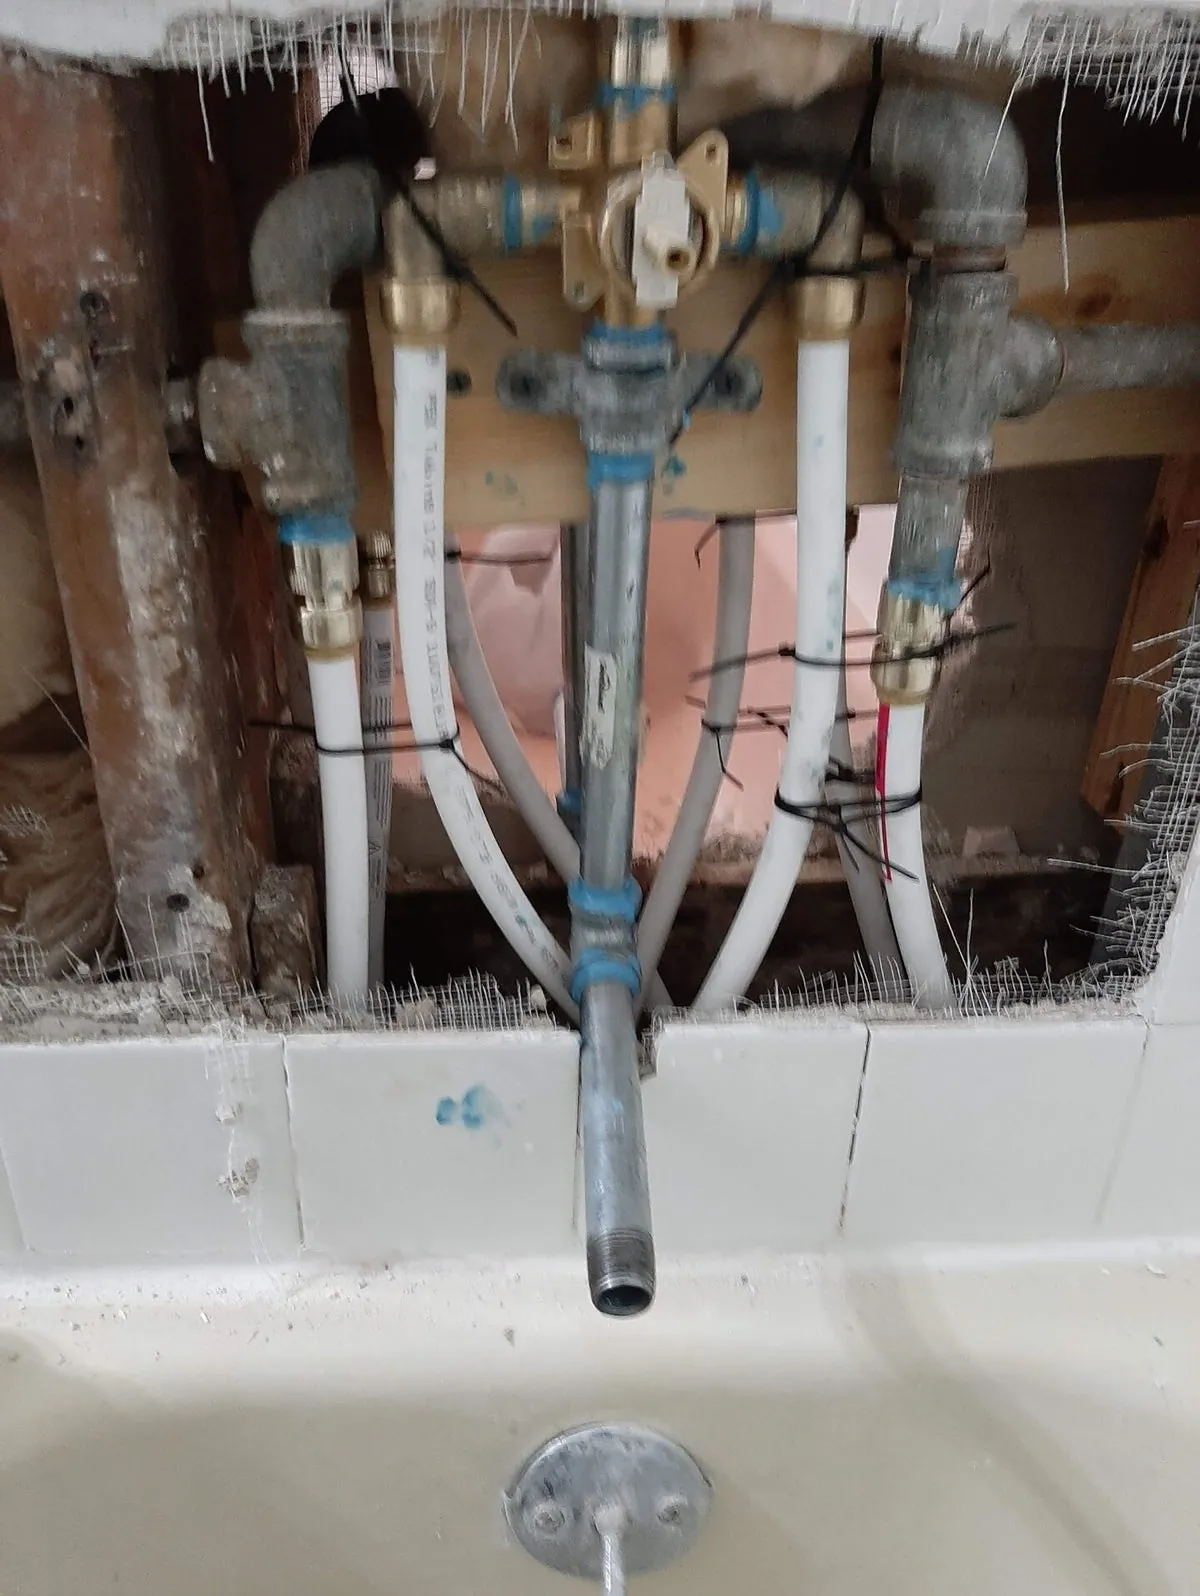
Do not treat a persistent odor as a cleaning problem until the source has been checked. Look under sinks, around toilet bases, behind appliances, near windows, at HVAC closets and around any stained drywall or flooring. Moisture can lead to damaged materials and can support mold growth, so a cosmetic cover-up is rarely a lasting answer.
The EPA’s guide to mold and moisture emphasizes fixing the water problem and drying affected materials. In turnover terms, identify the leak or humidity issue, correct it, remove or repair damaged material where needed, and only then move to finish work.
5. Patch, Prep and Paint in a Logical Sequence
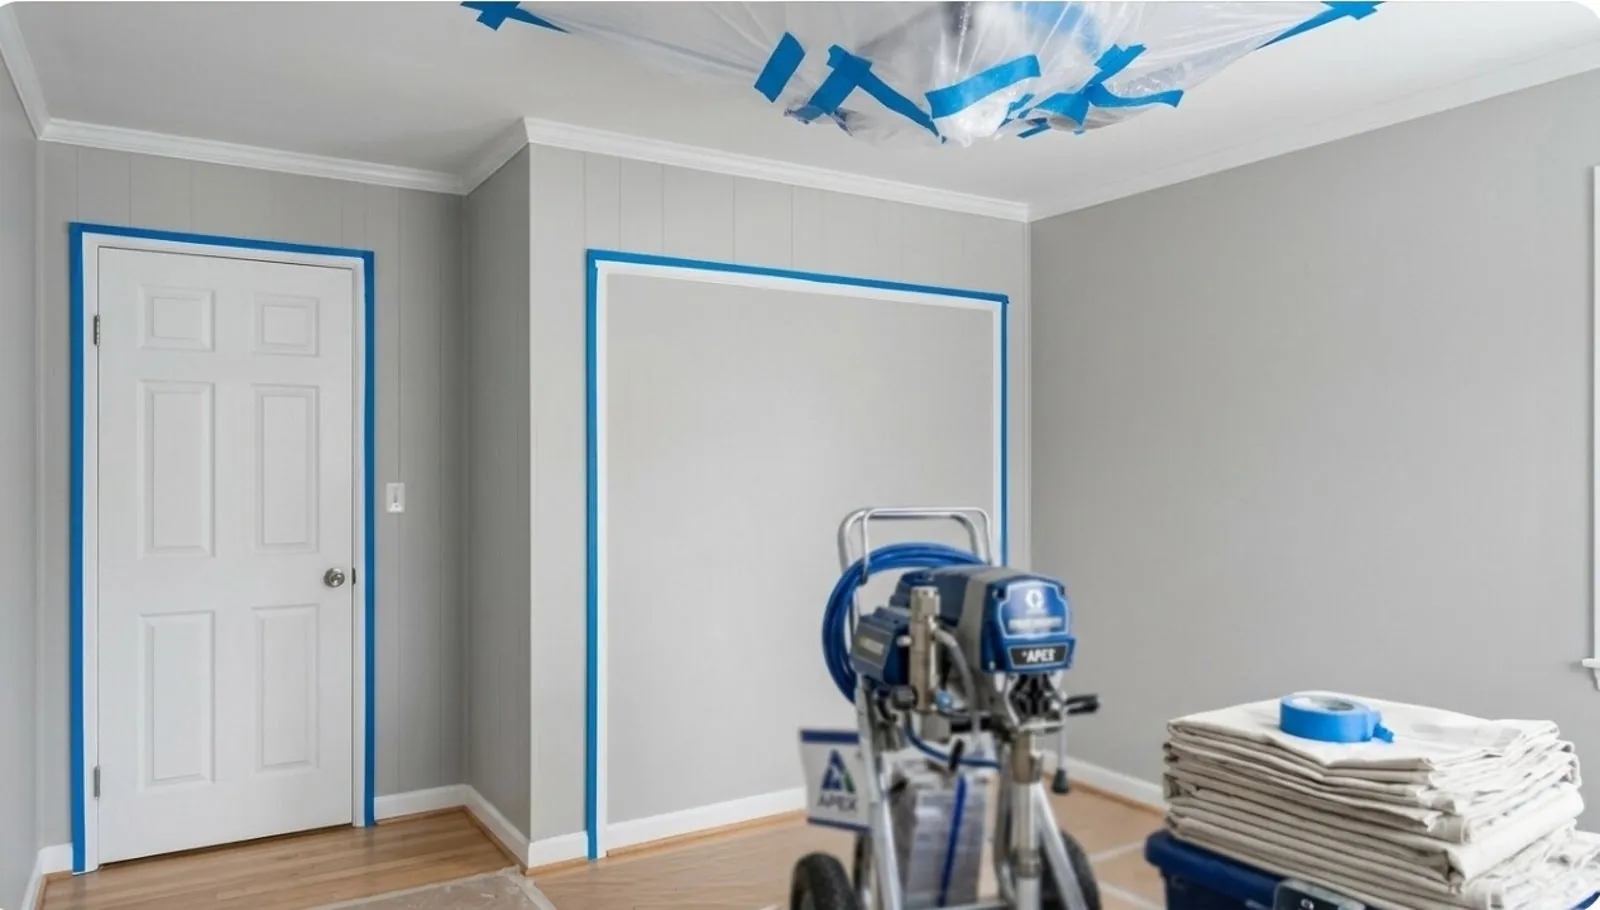
After functional repairs are complete, repair wall damage, texture mismatches, nail holes, caulk failures and trim issues. Prep matters because paint makes rushed surface work easier to see. Check corners, door frames, baseboards, behind doors and high-touch areas around switches and handles. Match the property’s approved paint system and keep touch-ups consistent from wall to wall.
Painting is also the point where teams often discover that a “small touch-up” will look worse than repainting the whole wall. Decide that before the final clean, while the room is still protected and tools are in place. The same applies to damaged drywall and trim: finish it fully now or add it to the approved scope, rather than leaving a defect for a prospect to notice.
6. Check Flooring, Cabinets, Appliances and Fixtures
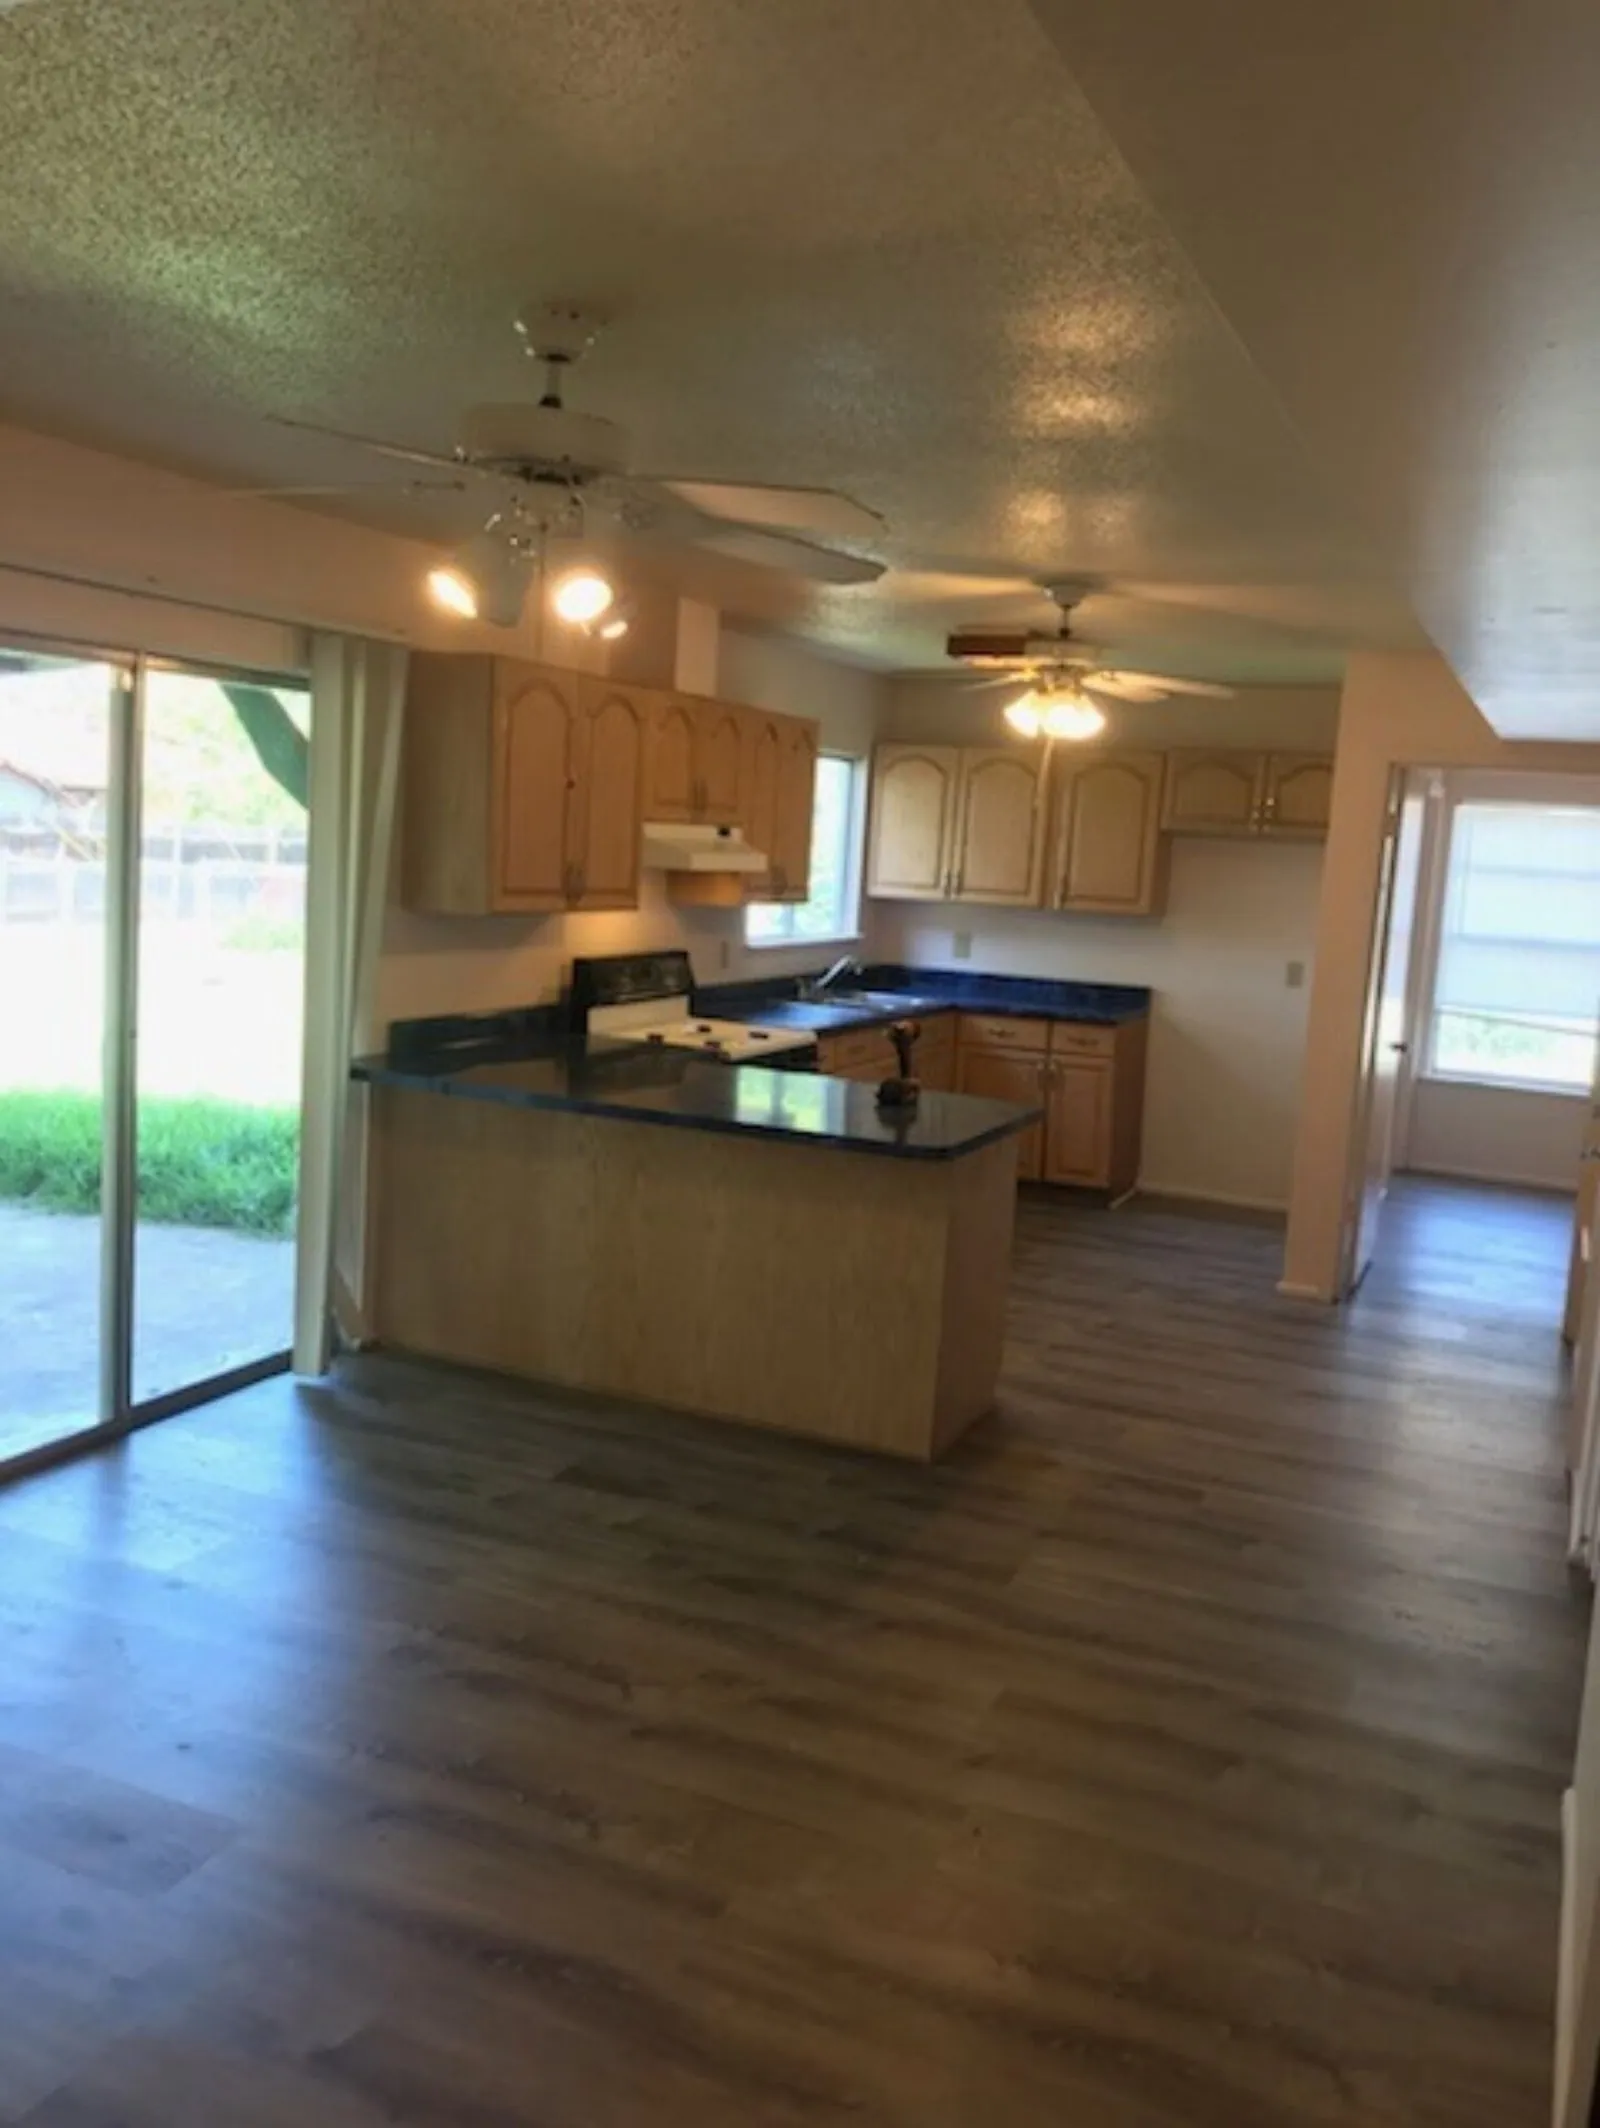
Next, work through the parts of the unit residents touch every day. Inspect flooring for damage, gaps, stains, transition problems and loose edges. Open every cabinet and drawer. Test appliance doors, burners, hood lights, garbage disposals, refrigerator shelves and dishwasher racks. Verify that blinds, window screens, closet doors, towel bars, bath accessories and door stops are present and secure.
Use a simple standard: could a new resident use this item immediately without calling maintenance? If not, repair, replace or document the approved exception. This is where a thorough checklist earns its value. The goal is not a longer list. It is fewer callbacks and fewer items discovered only after the keys change hands.
7. Deep Clean After Dusty Work Is Finished
Cleaning should be one of the final major phases, not the first. Dust from drywall repair, paint prep or flooring work can undo an early clean in a few hours. Once repair and finish work is complete, clean the kitchen, bathrooms, appliances, cabinets, counters, doors, baseboards, windows, floors and storage areas. Do not skip the areas a prospect opens on the first visit: inside the refrigerator, oven, cabinets, closets and under sinks.
Use products according to the label and do not mix cleaners. The Occupational Safety and Health Administration’s chemical hazard guidance is a useful reminder that staff should understand the products they use and have access to related safety information.
8. Test Safety, Access and Basic Operations
Before the final walkthrough, test the basics a resident depends on. Verify that required smoke and carbon monoxide alarms are present and working according to the property’s standards and local requirements. Check door locks, peepholes, latches, windows, lights, GFCI outlets where installed, HVAC operation, water temperature and appliance function. Replace missing keys, remotes, filters or batteries as the scope requires.
Use the same route through the unit every time. Start at the entry, move room by room, then finish outside the front door. A consistent route makes it easier to notice gaps and lets any team member take over without losing the sequence.
9. Complete a Final Walkthrough From the Resident’s Point of View
The final walkthrough is the quality-control step, not a formality. Enter the unit as if you are seeing it for the first time. Does it smell clean? Do surfaces look finished in normal light? Are the floors free of debris? Does every room look complete, not just technically repaired? Open closets, look behind doors and inspect the kitchen and bathrooms at eye level.
Compare the completed unit to the original scope and photo log. If an item is not complete, decide whether it can be corrected immediately or needs to be documented and scheduled. This last pass is the best time to catch a missing outlet plate, a paint drip, a dirty appliance shelf or a loose cabinet pull.
10. Close Out the Turn and Keep the Record Useful
Once the unit passes, save the final photos, approved scope, major repair notes and follow-up items in the property record. This makes future turnovers easier because the next team can see what was replaced, repaired or flagged. It also gives managers a clearer picture of repeat issues across units, such as flooring wear, appliance failures or moisture at the same location.
A turnover checklist works best when it becomes part of the routine, not a one-time rescue tool. Update it as the property’s standards change, then use it the same way for every vacant unit. That consistency helps protect the timeline without lowering the finish standard.
A Simple Turnover Checklist to Use Room by Room
For day-to-day use, keep the same short checklist in front of the team on every vacant unit. It should not replace a detailed scope, but it does make the final pass more reliable. Start at the entry, then move through the living area, bedrooms, kitchen, bathrooms, closets and exterior areas in the same order.
- Document unit condition, damage and material needs before work begins.
- Remove approved trash and belongings so the real condition is visible.
- Complete plumbing, electrical, HVAC, appliance and access repairs first.
- Repair drywall, caulk, trim, flooring and paint before the final clean.
- Clean every resident-facing surface, appliance interior, cabinet and storage area.
- Test lights, locks, windows, fixtures, appliances and required safety devices.
- Complete a final walkthrough using the same route as the first inspection.
- Save completion photos and close-out notes for the property record.
The checklist also clarifies when a unit needs more than a basic refresh. A simple turnover can cover cleaning, trash removal, touch-ups and final preparation. A deeper reset may require a full property restoration scope with flooring, cabinet work, repainting or larger repairs. Making that decision early gives the property team a realistic schedule and prevents the next resident from inheriting unfinished work.
Assign ownership while the scope is being built. Someone should be responsible for approving repairs, someone should confirm materials and access, and someone should own the final sign-off. On a small property those roles may be one person. On a larger community they may be several people. Either way, the handoff should be explicit. A unit should not sit empty because a completed repair is waiting for a paint decision, a key is missing, or a minor material request was never approved.
It also helps to separate work that must be complete before showing from work that can be planned after move-in. Health, safety, water intrusion, access, appliance operation and visible finish defects belong in the turnover scope. A non-urgent capital improvement can be tracked separately when it does not affect the resident’s use of the unit. That distinction keeps the team focused on readiness without losing sight of longer-term property improvements.
When a Coordinated Team Makes the Difference
Some units only need cleaning, haul-off and light touch-ups. Others need repairs, drywall, paint, flooring, appliance attention and a final presentation check before they can be shown. Coordinating separate vendors can work, but it creates more handoffs and more chances for a detail to get lost between crews.
Apex Make Ready Services handles apartment turnover work under one coordinated scope, including cleaning, repairs, paint, flooring, finish work and final preparation for San Antonio properties. The process starts with a walkthrough and clear scope, so property teams know what the unit needs before the schedule starts moving. For a specific unit, request a walkthrough to review the condition, timeline and next steps.
Frequently Asked Questions
What is included in an apartment turnover?
An apartment turnover usually includes an inspection, documentation, trash-out, repairs, surface preparation, paint or drywall touch-ups, cleaning, safety checks and a final walkthrough. The exact scope should match the unit condition and the standards the next resident will see.
How long should an apartment turnover take?
The right timeline depends on the unit condition, the amount of repair work, material availability and whether the work is coordinated by one team. A clean, well-scoped unit moves much faster than a project where issues are found late or handed between separate vendors.
What should be inspected between tenants?
Inspect safety devices, leaks, appliances, lighting, doors, locks, windows, flooring, walls, cabinets, plumbing fixtures, HVAC operation and signs of moisture or pests. Document the condition before work begins so the scope and approval process stay clear.
Who handles apartment turnover work in San Antonio?
Apex Make Ready Services coordinates cleaning, repairs, paint, flooring, finish work and final preparation for apartments, rental properties and investment units in San Antonio. A walkthrough helps establish the actual scope, timeline and pricing for the unit.